Introduction
This week we do 2D and 3D modeling. I have never used any programs about these things, so again it's all new for me. Since I have no experience at all, I tried many of them, above all 2D programs, because I had a vague idea of how they work. 3D programs were completey new for me, I've never used them, nor I saw someone using them. Usually I put a Documentation paragraph to explain how I prepared my study for the week, but this week I had to study different programs, so I'll explain how I worked in each paragraph.
Inkscape
Inkscape is a great 2D modeling software, it's pretty easy to use and it's very useful. On the web you can find a lot of tutorials, video on youtube too. I had a look on many of them, but in the end there are two big resurces that I used in order to learn it:
GoInkscape is a website full of tutorials. Here I've found many solutions to my problems. Also, there are several examples of something "hard" to draw with Inkscape, so I really liked it.
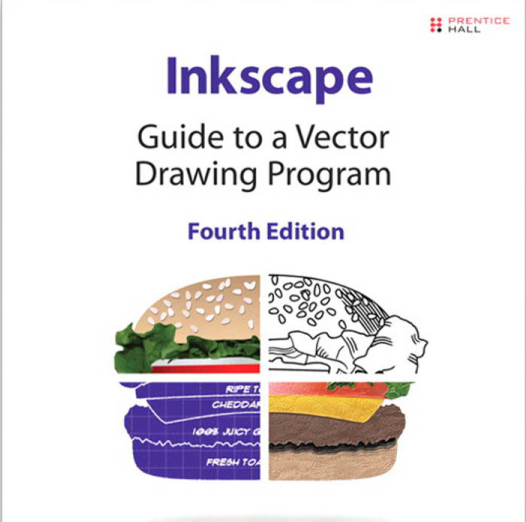
Inkscape - Guide to a vector drawing program is a sort of Bible of Inkscape. There's almost everything inside, and it's particulary useful if you, like me, don't know anything about these kinds of programs, because it gives you a general explanation of how it works.
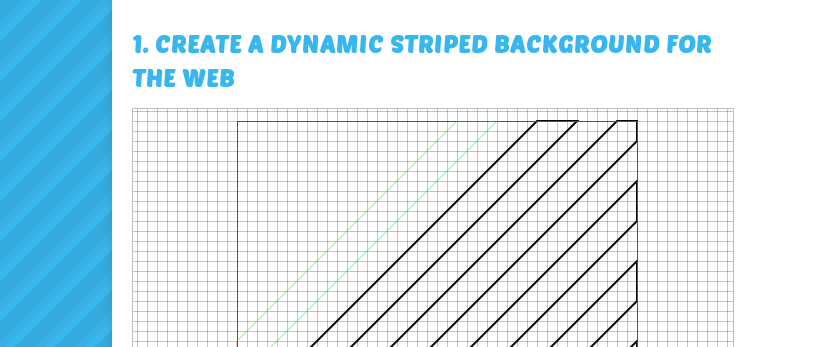
It happened that I had to use the laser cutter for some other reasons, so I tried to draw some shapes on Inkscape and then to cut them. So I would have been able to see if I the result was the same as my idea!
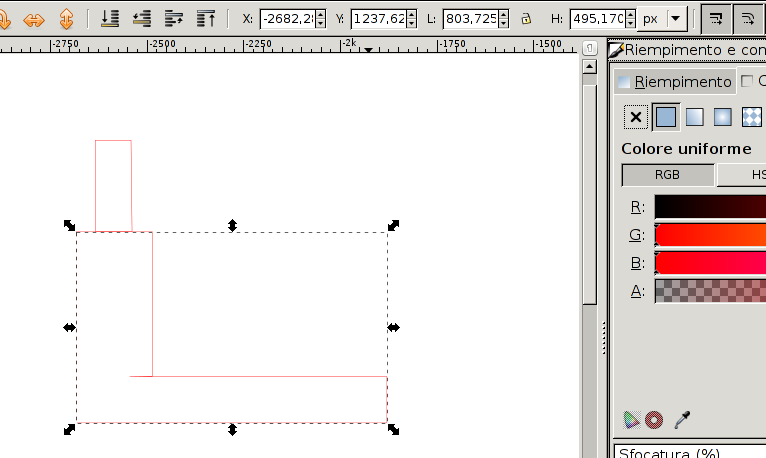
I needed a particular shape, because we were building a greenhouse up. One of my classmates was doing it, so I decided to do the same thing, but all by myself. As you can see I composed this shape superimposing different shapes. This was a problem because I superimposed the cut lines too, and I filed when I tried to cut "my shape" with the laser cutter.
The day after I did some plates for some paints we have in our Fab Lab. This time I didn't use figures, I was suggested to use lines instead, and it worked very well. It was an occasion to try to do some figures with some text inside, I didn't know yet, but I used this a lot during the others weeks.
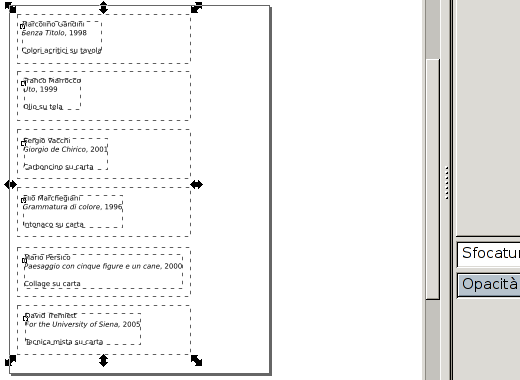
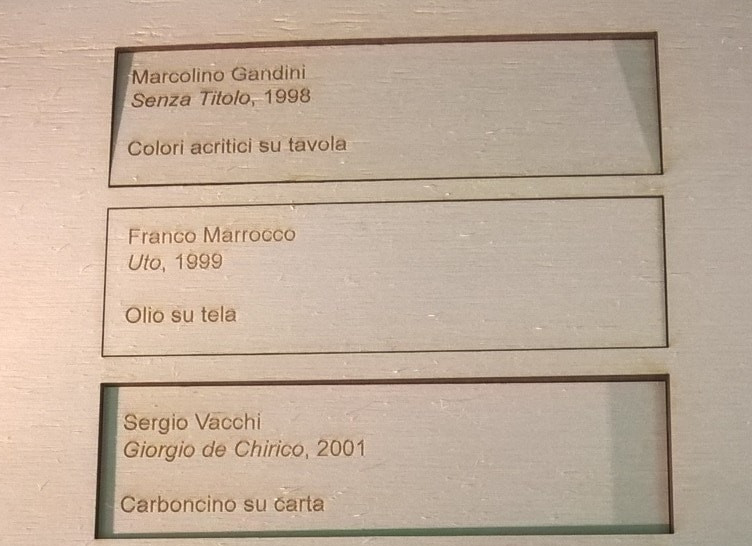
Here you can see the first three plates. It's a pretty simple figure, nothing special or particulary hard, but since it was the very first time for me, I was proud of the result.

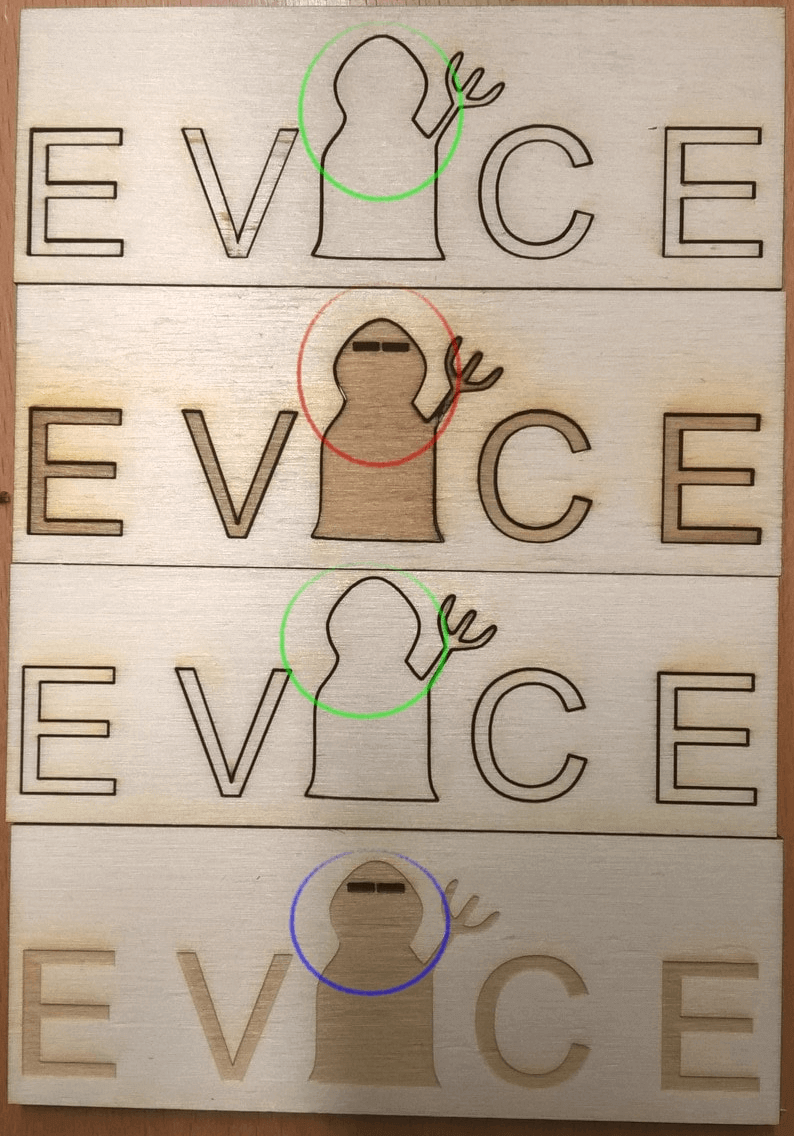
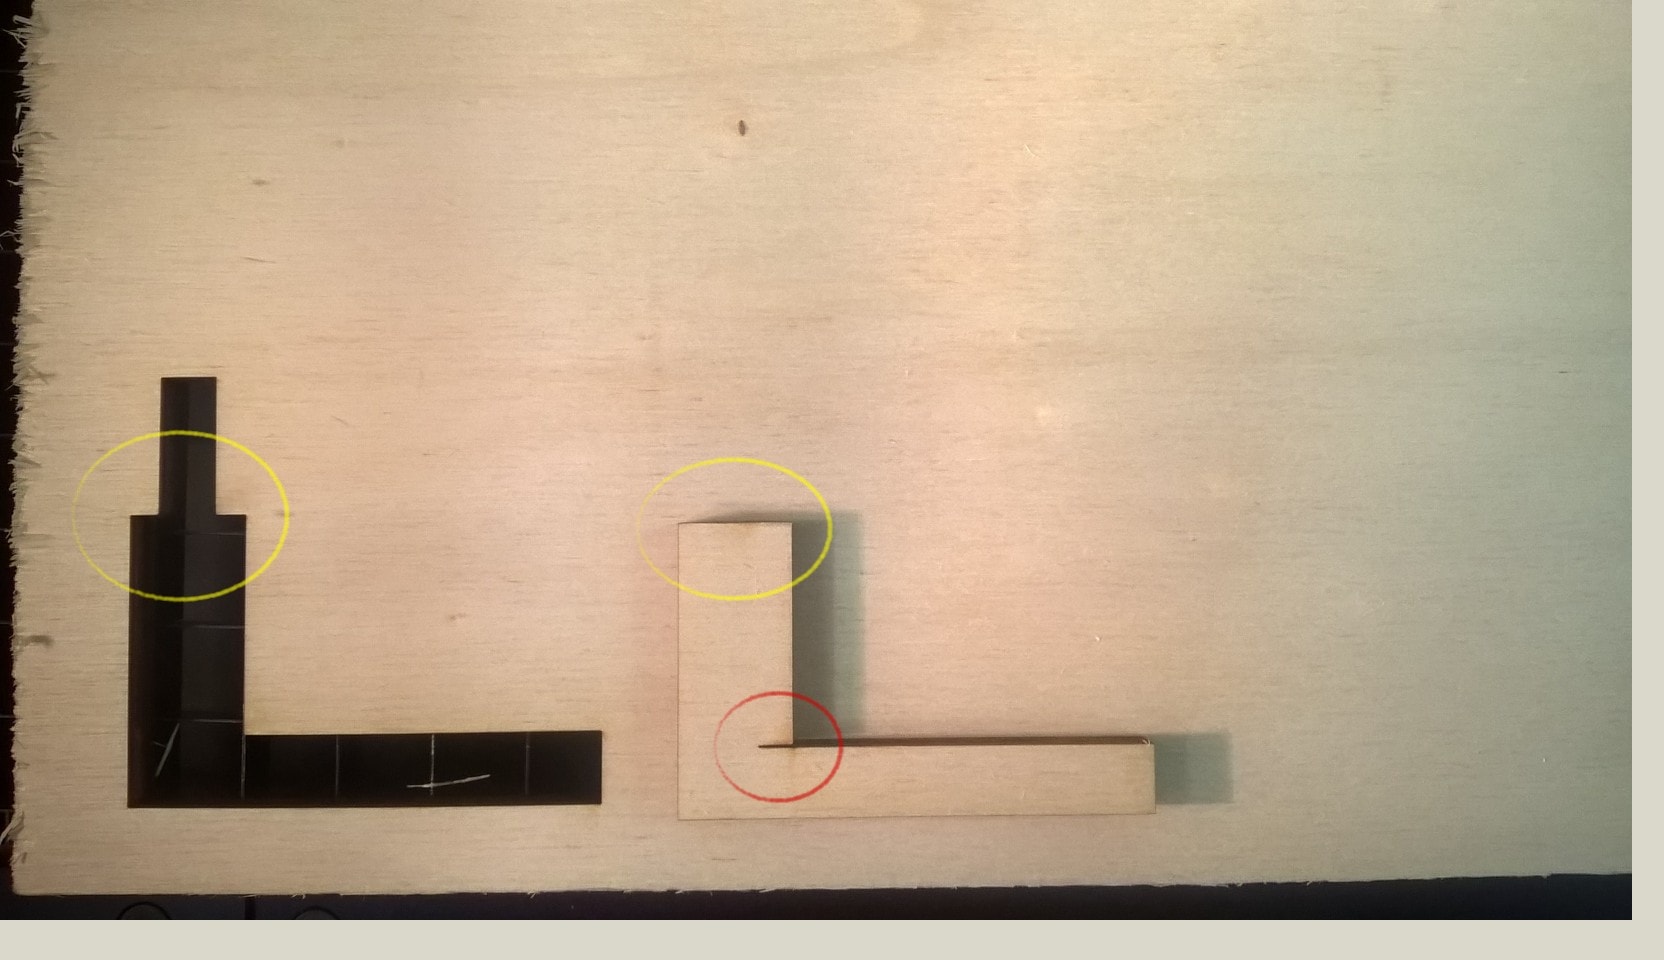
I wanted to call my project Evice, so I tried to draw it. On the very top you can see one of the test I did on Inkscape, the black one, on the bottom you can see some results that I had using the laser cutter. In the green circles I just wanted to cut the letters and the logo. In the red one I wanted to draw the letters and cut two little eyes in the logo, instead I cut the letters and the logo too. I fixed it, as you can see in the blue circle, where everything went as planned. The logo I used for the i was a .jpg image I downloaded. I changed it from raster to vector, I checked the track for something irregular, and of course I changed the color, from purple to black.
To be honest, it took me a while to understand how to properly change an image from raster to vector, but it's probably the most useful thing I learned using Inkscape, and I think I'll use it a lot.
Mypaint
in the beginning Mypaint looked of no use to me, any of my classmates downloaded nor used it. I tried it to modify some images and I've found it easier than Gimp. I've found these guides, and I tried to learn something about how to use it. It's very useful to me to mark photos and screenshots, not so useful to modify some parts of photos (like shapes, coulors, etc.). In conclusion I'm not gonna use it for my projects, but I'm gonna use it to adjust any media related to my page. In particular, I used it here to draw the colored circles on some images.
Update 30-03-2016
To be honest, once I started to use more often Inkscape and Gimp I gave up on MyPaint, simply becuase I have found very hard to do something more complex with it, and at the same time I've found very easy to do something more complex with the other two softwares.
Gimp
When I started to use Gimp I've found it really hard and I gave up pretty soon. I stared to use it again during the other weeks, and in particular to fix some problems I had when I wrote my documentation. Gimp allowed me to change the color, resize the image and rotate it. I used it in a very useful way during Electronic production and Electronic design weeks. I modified the .png files that I had to mill, and Gimp allowed me to do it in a really fast way. I tried to do it with Mypaint too, but it was almost impossible and I gave up.Since I had this good experience with Gimp I decided to study it, and I've found a really good documentation on its web site. The tutorials are organized by user's level, so it's really good for absolute beginner too.
Onshape
I was about to start using it, then my instructor said that it was a great program for sure, but for those who don't have any experience in 3D modeling it could be a good idea to start with OnShape, and so I did. On its web site there are 4 tutorials, can't link them because you have to be registered. Anyway, before I start talking about it, I would say one thing. In the beginning I used it on Firefox, but it crashed every time. My instructor suggested me to try it on Chrome (or Chromium), and I've never had that problem again.I didn't want to do a 3D model of my final project, for two reasons: first, 3D modeling is not as easy as I thought, I think I'll need some times to learn it better, so for now I want to learn the basics; second I'm not really sure anymore about my final project, I'm seriously thinking about a change, so I prefer not to schetch it.
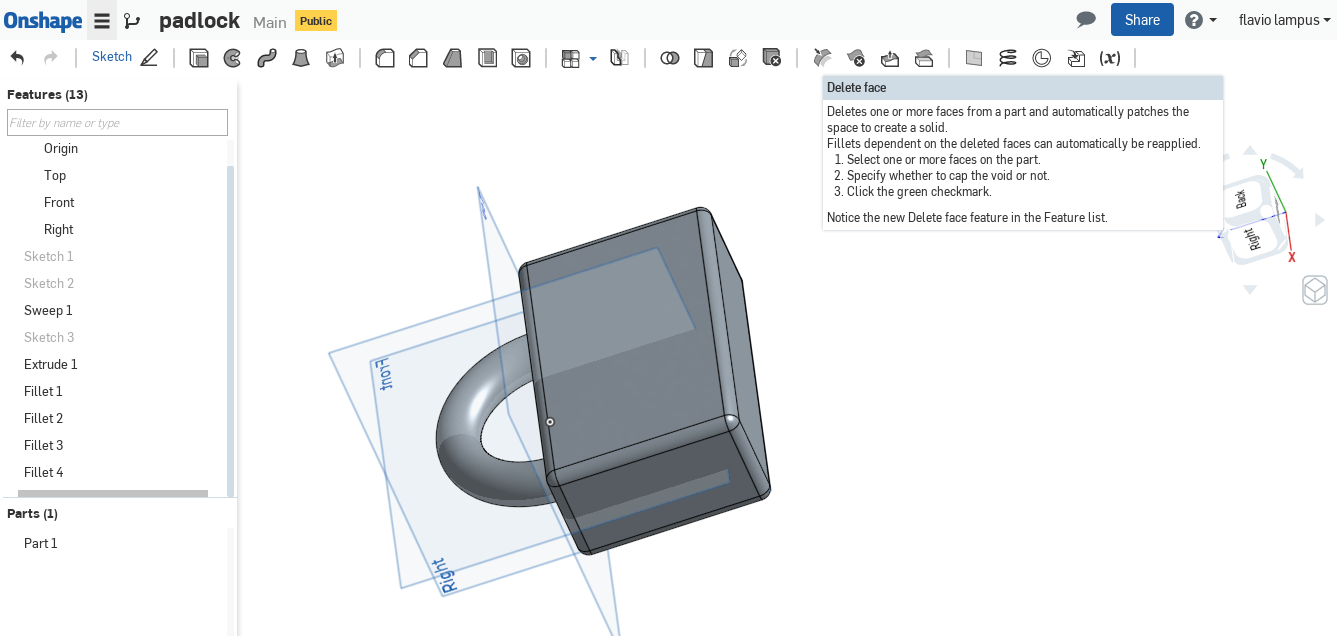
After some tries, I decided to model a padlock. I thought it would be easy, it wasn't at all. Here's the result. This video helped me a lot during the work:
That video was really important to me, because I tried to draw a curve for some hours without any results. Then I've found the video and I fixed it in 15 minutes. Here's the result:
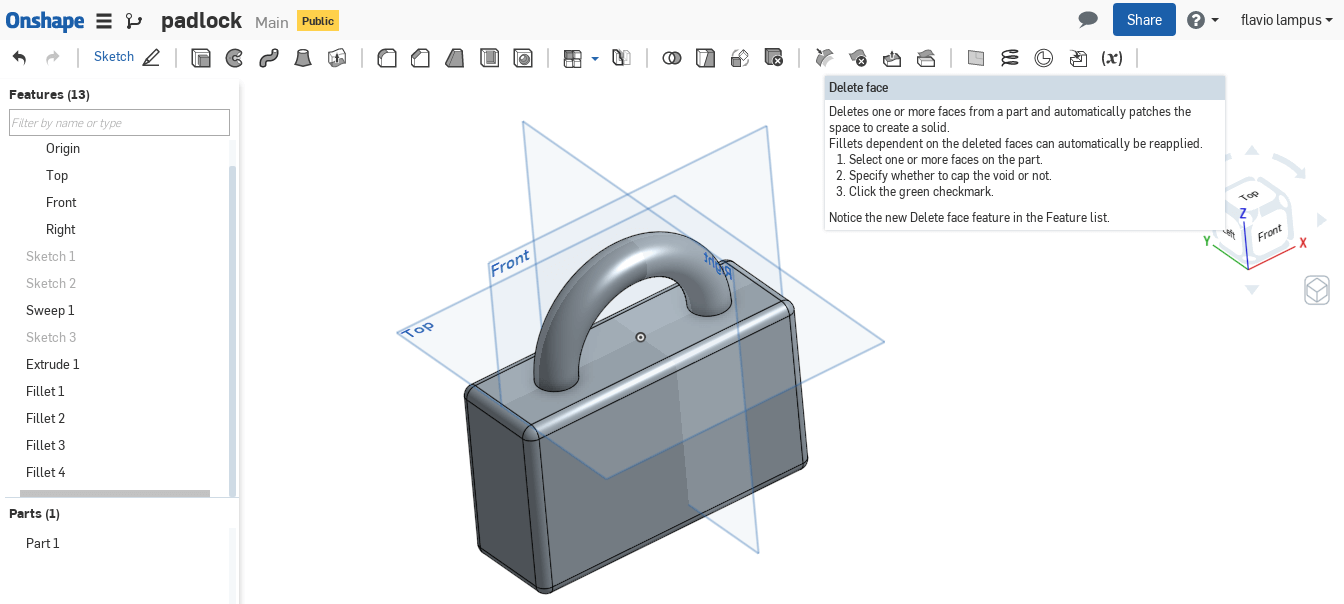
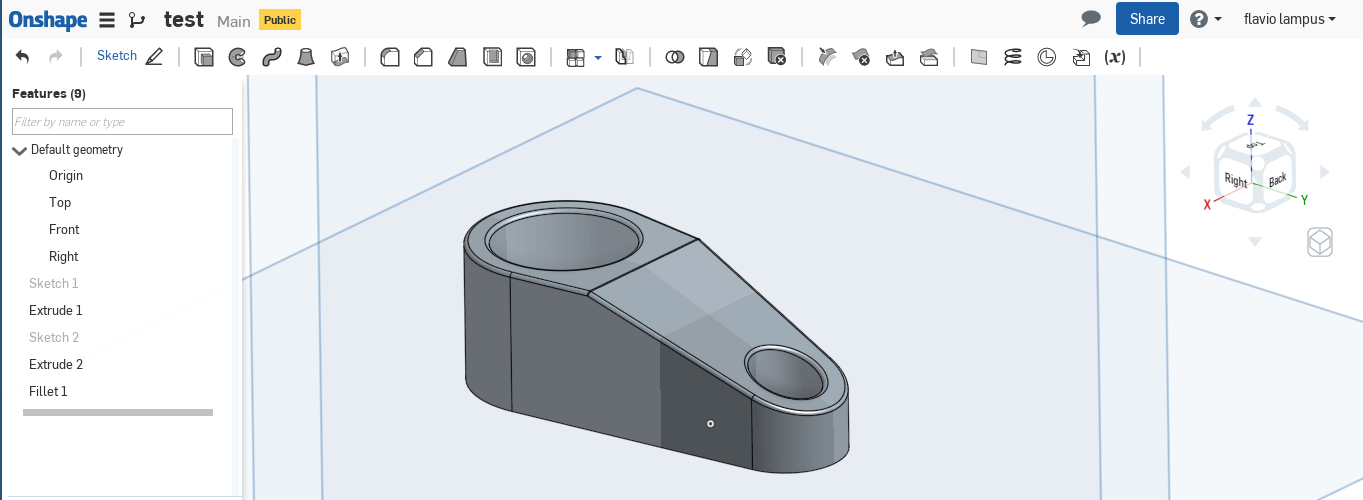
Then I decided to follow this tutorial and try to replicate it:
Once again, this video gave me a huge hand, basically because it showed me how to create a new shape erasing another one. It may looks pretty easy, but I was just starting to learn how to use Onshape, and it gave me a different point of view.

I did it several times, just to memorize some commands.
Now I'm working on merge, I'm following this video tutorial:
I want to do the same thing as he did, but I'm having some hard time with the misures.
Antimony
The path to learn how to use Antimony was pretty hard. The main reason was that it's truly hard to find a proper documentation about it. My main source has been the documentation of Fabacademy's last years students.Let's start with something simple:
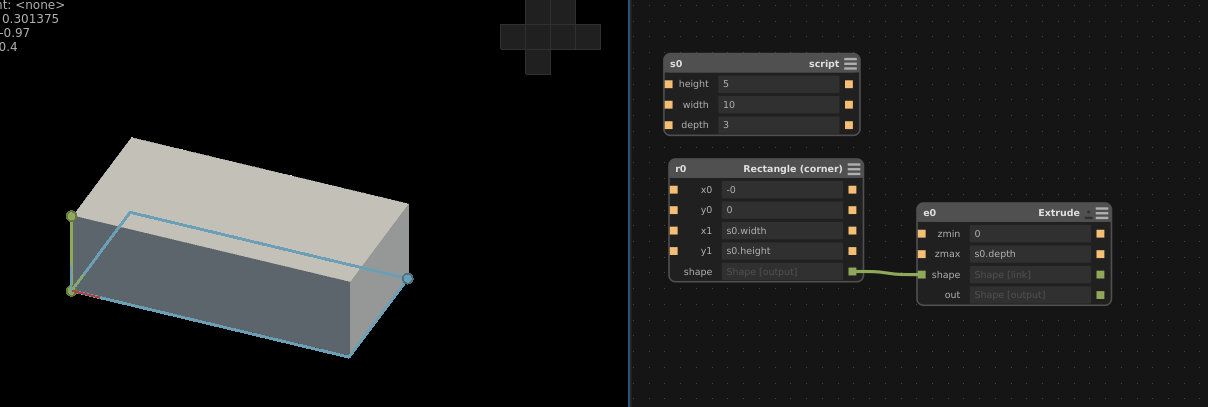
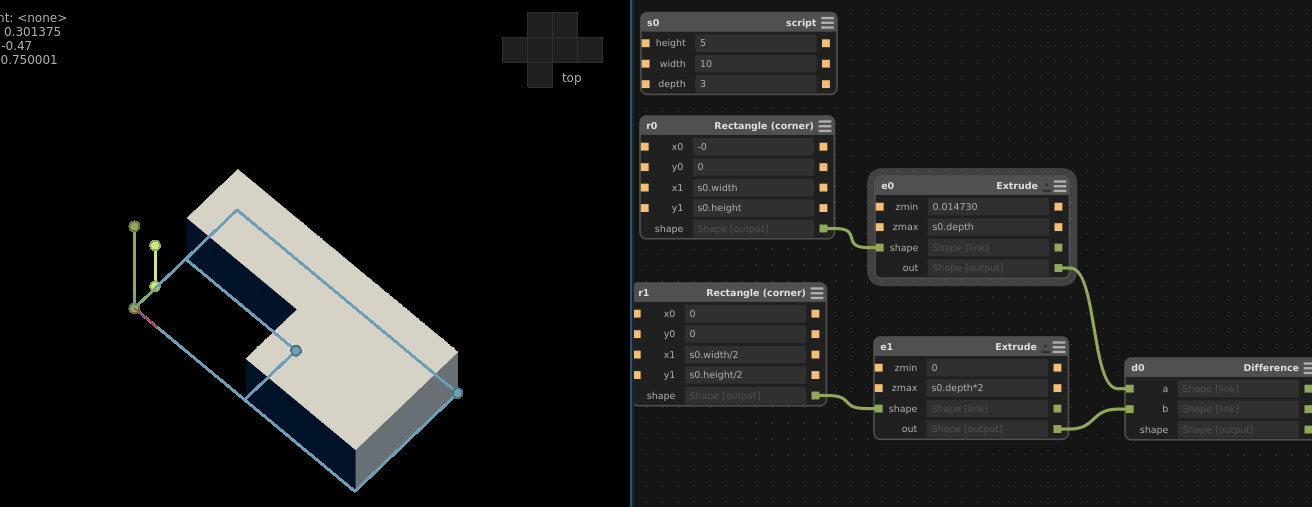
On the left side of the screen you can see the visual rapprenstation of your job, on the right side you define every shape. The first block is a "script". It's very useful when you want to draw a parametric model, it allows you to define any value you want. I've put height, width and depth.

If you press on the "hamburger button" of the script, Antimony will allow you to define each field. Then I proceded to draw a rectangle: this figure has basically two points that you have to define, the first one is 0, the second one is 1.
The 0 point has X and Y in 0, the 1 point has X in s0.width and Y in s0.height.
It means that if you want to change the size of this figure, you can just change the values of the s0 script.
Then I extruded the figure, the program asked me the starting point of the extrusion (zmin), and the end point (zmax). Also in this case, I linked one of the values to the s0 script.
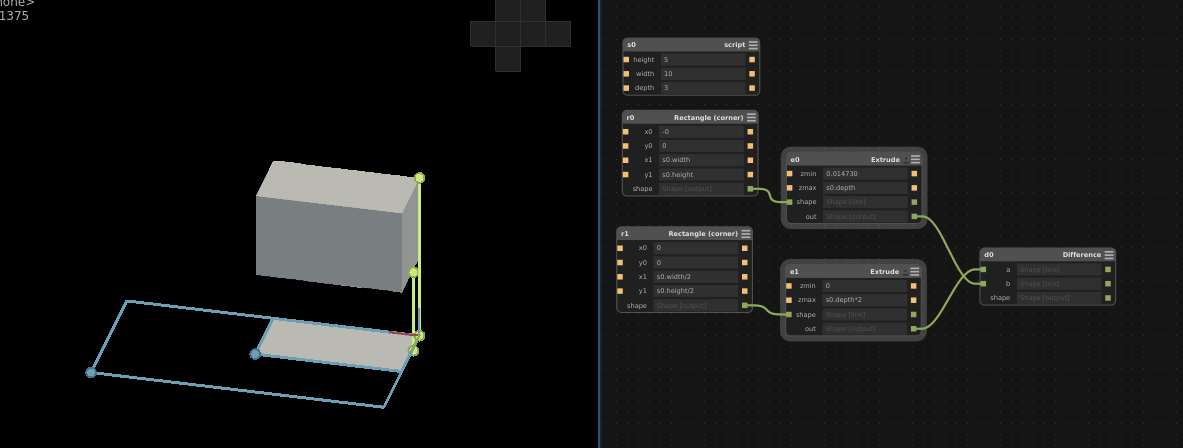
Let's say that I want another rectangle, but it must to be half of the one we have right now.
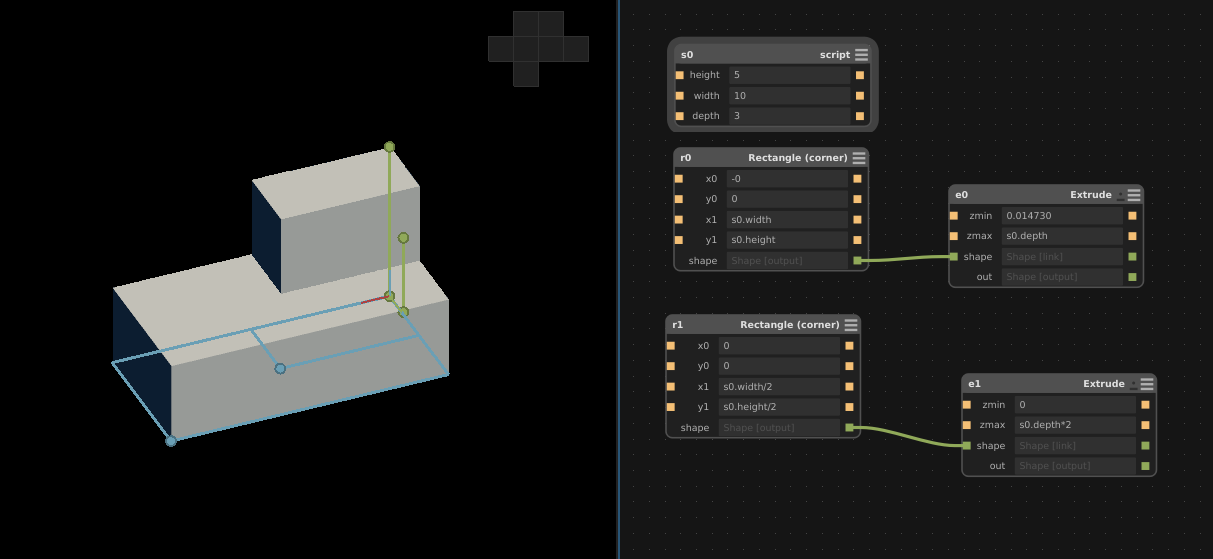
The second rectangle has half of the width and of half of the height of the first one, and it has twice the depth of the first rectangle. If you change the values from the s0 script, this proportion will be always respected.
Using the difference command, you can erase one figure from another, as you can see in the last and in the next picture.
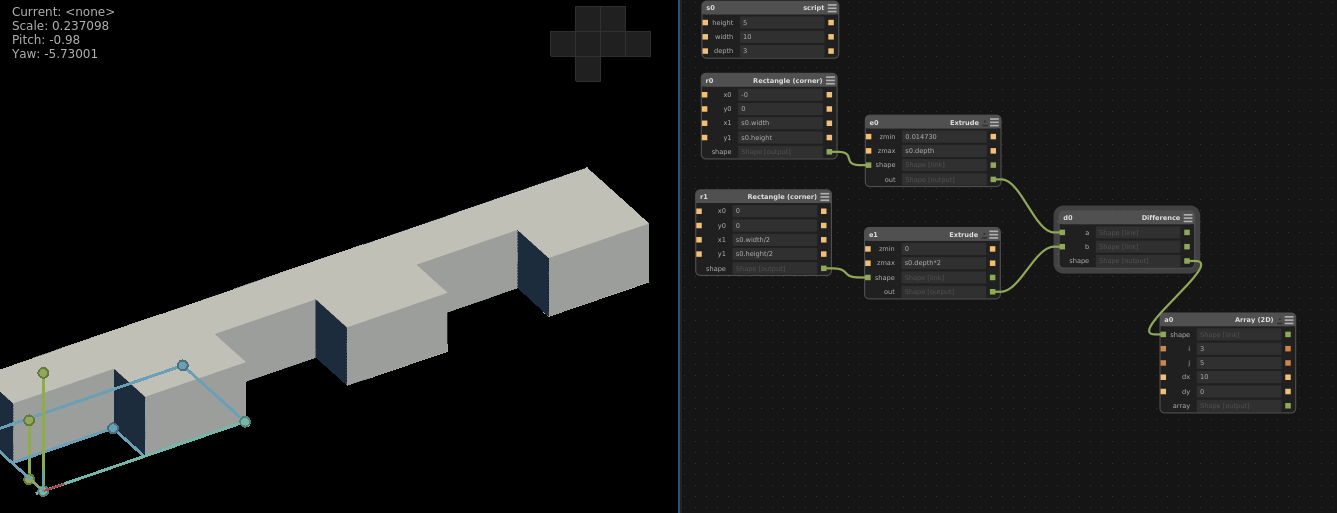
With Array command, you can duplicate your figure. You can choose how many figures you want, and you can set the distances in between them.
When you finish your figure, you have just to create the export box. Antimony allows you to export in .png and .stl. The nice thing about this function is that you can decide exactly what you want to export: every shape linked to the export box will be exported, the others wont.
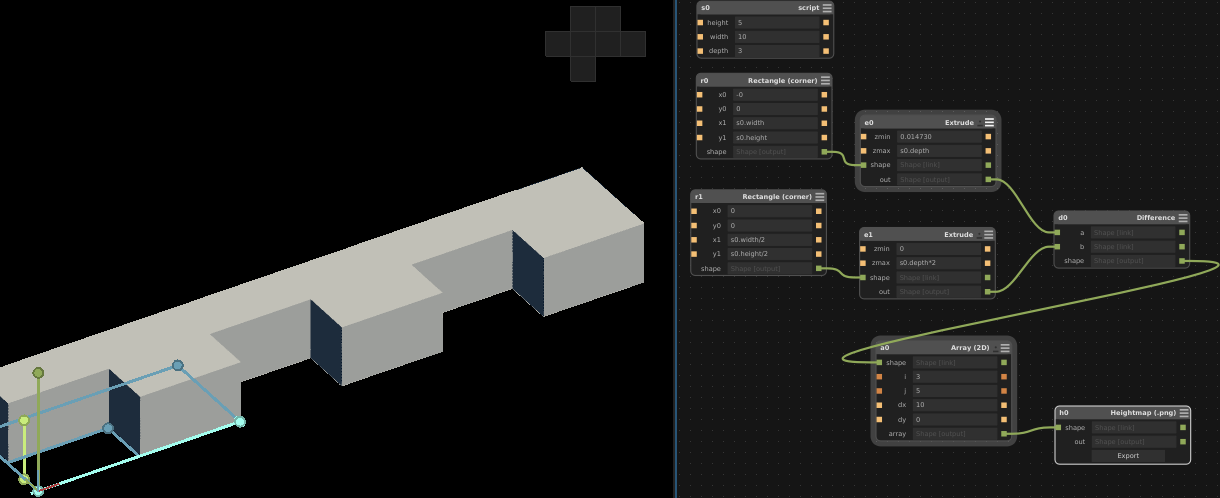
Antimony will ask you how many voxels you want for your image: if you set a low parameter it will not be able to create a .sb file, on the other hand you you put too many voxels, the file will be really really huge, and there's a good chance that Antimony crashes in between.
Conclusions
This week was truly hard for me. I didn't know almost anything about those programs and 1 week was not enough for me to learn everything. However, I used most of those programs during the other week's assignments, so day by day I emproved my skills using these softwares. I've found that the others students pages were not as useful to me as they have been during other assignements.Download
Logo Evice InkscapeAntimony file

This work is licensed under a Creative Commons Attribution-ShareAlike 4.0 International License.